Tip: Alt/Opt-click the New Action button to skip the dialog and simply accept the default name (and settings) for the new action. You can also drag-and-drop an existing action onto the New Action button to duplicate it (which is equivalent to choosing Duplicate from the Actions panel menu).
F. Delete
As you might expect, the Delete button ( ) deletes the selected set, action or command. A dialog appears to confirm your intentions. Alternatively, you may access the Delete command from the panel menu.
Tip: Alt/Opt-click the Delete button to delete the selected item without confirmation. This is equivalent to dragging the desired item onto the Delete button.
Delete operations performed in the Actions panel are not added to the history, nor can they be undone via the Edit » Undo command; however, you may undo/redo the last delete operation by pressing Ctrl/Cmd+Z.
G. Action Sets
Sets behave much like folders, in that they allow you to organize your actions. Double-click on a set (or choose Set Options from the panel menu) to change its name.
H. Actions
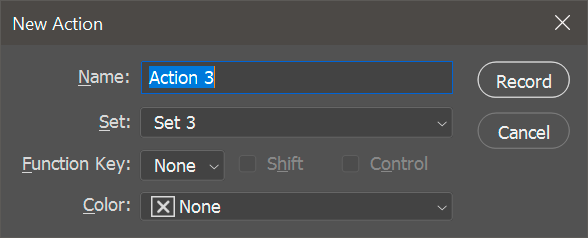
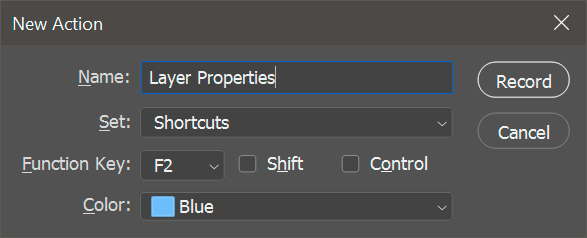
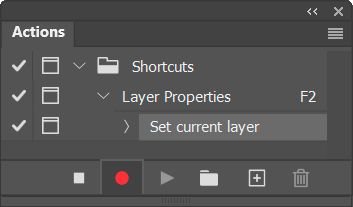
An action is basically a Photoshop macro containing one or more pre-recorded commands that may be replayed on another image (or series of images). Actions can only exist within a set (i.e., they can't be created in the Actions panel outside of a set). Double-click on an action (or choose Action Options from the panel menu) to change its name, keyboard shortcut and Button Mode color.
I. Action Steps (Commands)
Action steps are pre-recorded Photoshop commands. Actions are comprised of one or more action steps.
Tip: Alt/Opt-drag-and-drop an existing action step to duplicate it (which is equivalent to choosing Duplicate from the panel menu).
J. Command Details
Expanding an action step (by clicking on its associated disclosure icon, Disclosure icon ( ) reveals the details/values that were set for the command at the time it was recorded.
Note: You may change the parameters for a command by double-clicking on its associated action step (or by choosing Record Again from the panel menu). If available, the command dialog will appear, allowing you to enter new values. Choose OK to apply the new settings or Cancel to leave the original settings.
K. Include Checkboxes
The include checkbox ( ) is used to turn action steps — or even entire actions or sets — on or off. By default, all commands are checked, indicating that they are to be included when an action is played. An empty checkbox indicates that the command has been disabled (excluded), meaning that it will be skipped during playback.
Note: Enabling (or disabling) the include checkbox for a set toggles all steps for all actions within the set. Similarly, enabling (or disabling) the include checkbox for an action toggles all steps within that action.
A red checkmark icon ( ) indicates that one or more (but not all) steps within an action (or set) have been disabled.
L. Modal Controls
The modal control is used to enable/disable a command's dialog; hence, it's only available for commands that have an associated dialog. If enabled, a small dialog icon ( ) appears next to the command, and the associated dialog is displayed for that command during action playback. The default is to not display a dialog (indicated by an empty box), and instead, to use the values that were recorded for the command when the action was created.
Note: Enabling (or disabling) the modal control for a set toggles all dialogs for all actions within the set. Similarly, enabling (or disabling) the dialog checkbox for an action toggles all dialogs for all applicable commands within that action.
A red modal control icon ( ) indicates that one or more (but not all) dialogs are enabled within an action (or set).
A grey "ghosted" modal control icon ( ) can mean one of two things:
- the dialog has been enabled, but the command, action, or set has been excluded; or
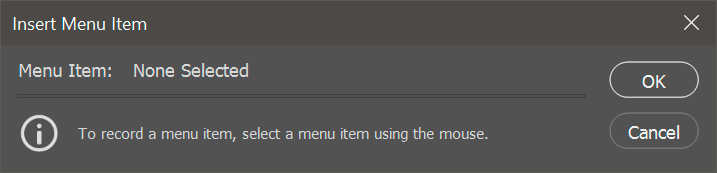
- the command was inserted without values, via the Insert Menu Item command (in which case, you'll be prompted for values during action playback).

 )
) )
) )
) )
)
 )
)
 )
)


 )
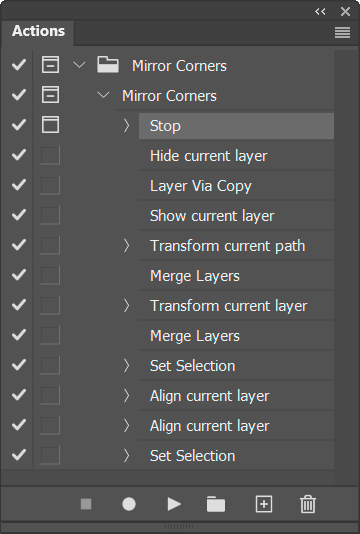
) Next, duplicate the current layer by pressing
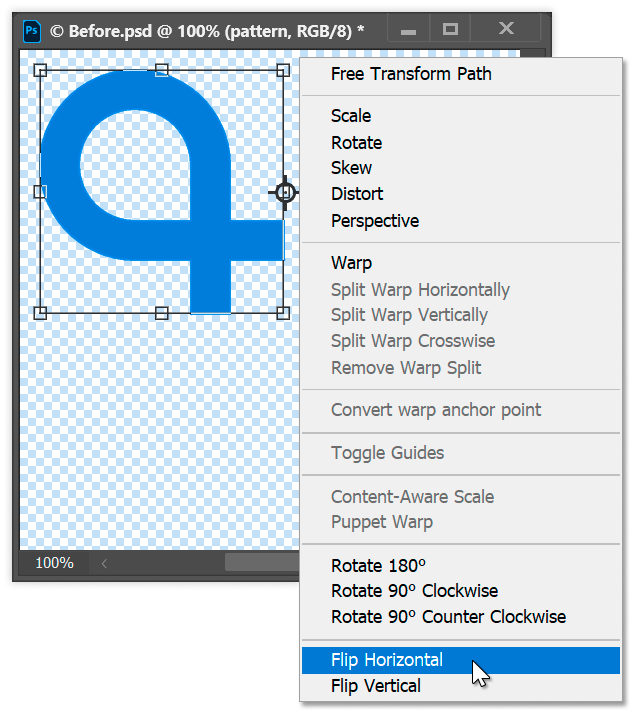
 )
) )
) on the Options panel), followed by Align horizontal centers
  )
)
 )
)